The problem
The problem Bioconda and BioContainers attempt to solve is this: Consider the popular software tool SAMTOOLS, which is used to create and manipulate sequence alignment data files. SAMTOOLS is distributed as a zipped archive, inside of which are several hundred C language source code files and sample data. To get the software running, users have to unpack the archive, compile the source files, and install them in their correct locations. You need to be an expert sometimes to be able to compile, install and run this kind of tool.
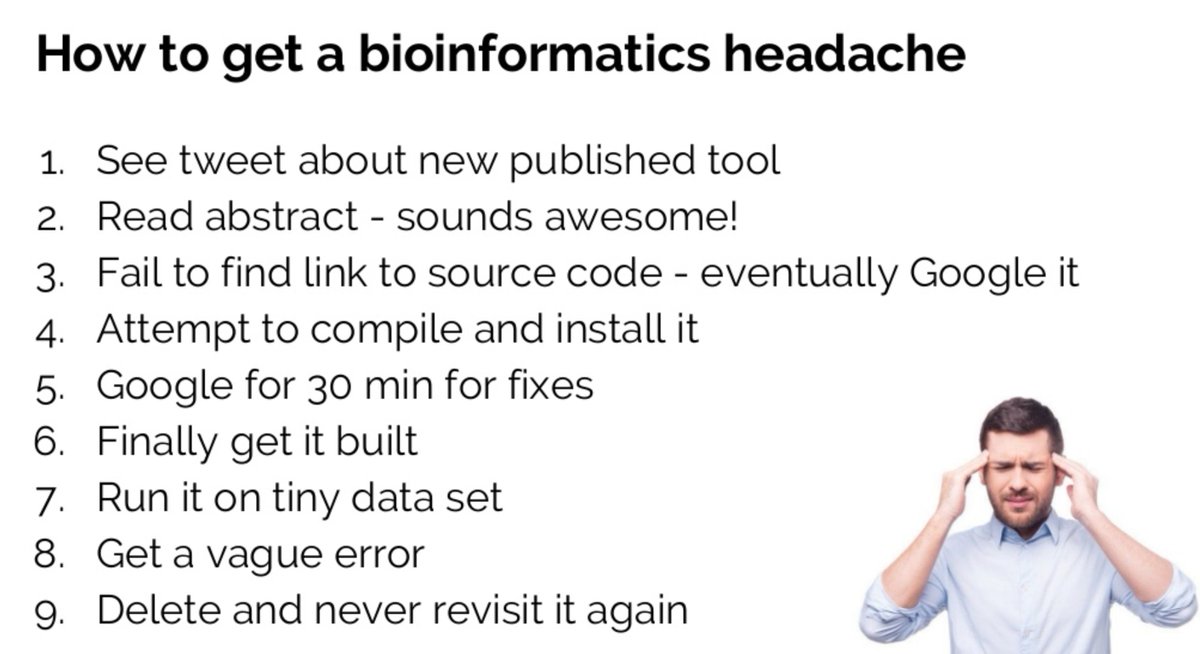 |
| How to get a bioinformatics headache |
Introduction to Conda and BioConda: the solution
A Conda package is a minimal entity of software, it contains the software itself in a relocatable way so that you can deploy it to any system. |
| The software tool -> Conda package -> Container -> Workflow |
- developers describe their tools and how it should be installed.
- Bioconda then creates a distributable form of the software that anyone can use, whether on Windows, macOS, or Linux.
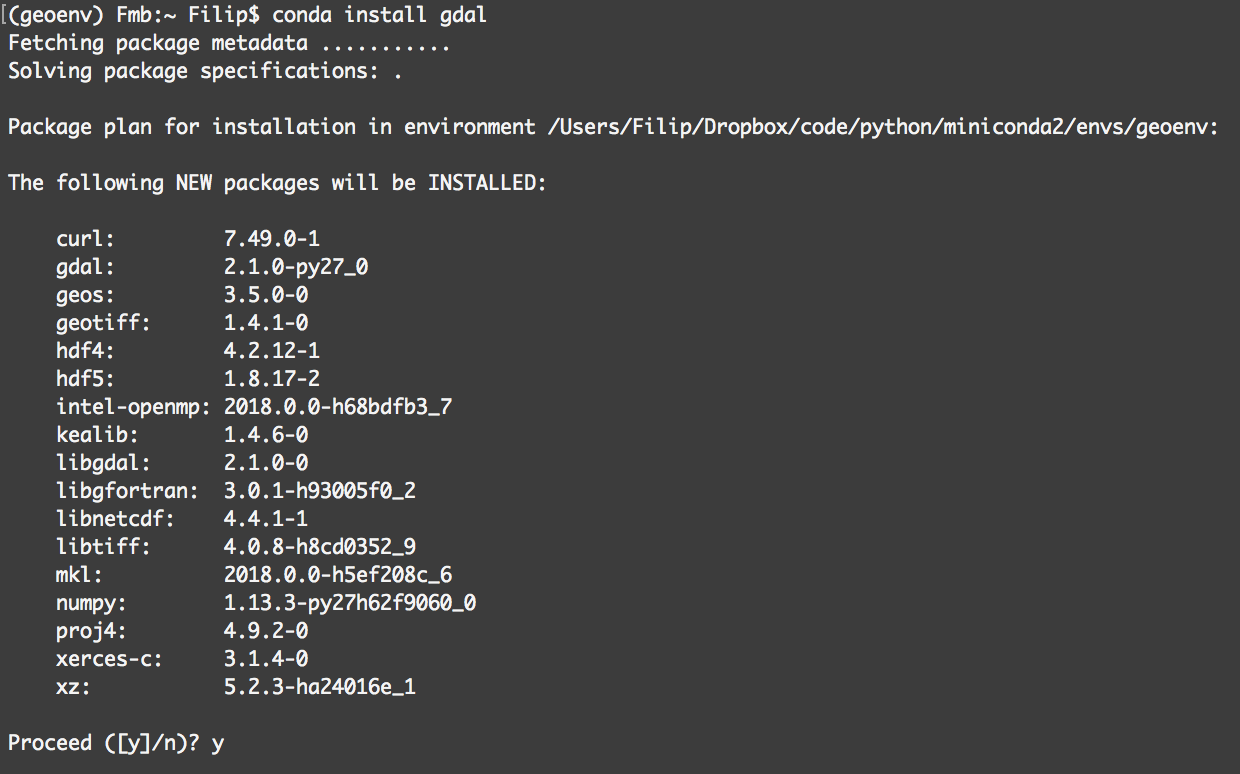
- The user simply type conda install followed by the name of the desired package, and Conda does the rest.
BioConda: Step by Step guide
1- First of all install Conda in your PC or your cluster.
After downloading the installation script (Miniconda3-latest-Linux-{version}.sh), you can run the following command:> bash Miniconda3-latest-Linux-x86_64.sh
You can test the installation like:
> conda list
An important concept "Conda environments": A conda environment is a directory that contains a specific collection of conda packages that you have installed. For example, you may have one environment with NumPy 1.7 and its dependencies, and another environment with NumPy 1.6 for legacy testing. If you change one environment, your other environments are not affected. You can easily activate or deactivate environments, which is how you switch between them.
2- Create a conda environment
> conda create --name snowflakes
> conda activate snowflakes
> conda activate snowflakes
Add different channels to your environment, a channel is a source of packages and tools. The bioconda channel provides major packages and tools in Bioinformatics
> conda config --add channels defaults
> conda config --add channels bioconda
> conda config --add channels conda-forge
> conda config --add channels bioconda
> conda config --add channels conda-forge
3- Install and run a package (e.g. blast)
> conda create -n blast-env blast
> conda activate blast-env
> conda install blast
The following NEW packages will be INSTALLED:

  blast              bioconda/osx-64::blast-2.6.0-boost1.64_2

The following packages will be UPDATED:

  ca-certificates                               2019.5.15-1 --> 2019.10.16-0
  certifi                                  2019.6.16-py36_1 --> 2019.9.11-py36_0
  conda                                       4.7.11-py36_0 --> 4.7.12-py36_0
  openssl                                 1.1.1c-h1de35cc_1 --> 1.1.1d-h1de35cc_3


Proceed ([y]/n)? y


Downloading and Extracting Packages
ca-certificates-2019 | 131 KB    | ####################################################################### | 100%
openssl-1.1.1d       | 3.4 MB    | ####################################################################### | 100%
conda-4.7.12         | 3.0 MB    | ####################################################################### | 100%
blast-2.6.0          | 113.0 MB  | ####################################################################### | 100%
certifi-2019.9.11    | 154 KB    | ####################################################################### | 100%
Preparing transaction: done
Verifying transaction: done
Executing transaction: done
blast_formatter blastdbcheck blastn blastx blastdb_aliastool blastdbcmd blastp
Finally, you are ready for any of the blast tools.
Adding your tool or software to BioConda
1- Get a copy of the BioConda recipes Github repository by creating a FORK on the repo (https://github.com/bioconda/bioconda-recipes), PULL the new FORK to your local PC, create the recipe of the tool and ask for a PULL REQUEST to the major repository. (Here a nice review of How GitHub works)
2- The BioConda recipe
You can push your changes to GITHUB and ask for a Pull Request to the BioConda community to integrate your new recipe into the channel.
Once the tests pass, the recipe is reviewed by other members and then merged into the master branch. The resulting conda packages and containers that are built on the master branch are uploaded to public repositories for worldwide use. Bioconda packages are created and tested automatically. Developers submit recipes to the Bioconda page on GitHub, at which point they are tested for syntax errors, built online using continuous integration, folded into containers, and tested again to ensure no dependencies are missing.
Search for existing packages
Existing packages and tools can be searched in https://bioconda.github.io/conda-recipe_index.html. The user can type a software name to retrieve the corresponding package.
 |
| In the Quick Search box, the user can type a software name to find the corresponding package. |
Next lesson BioContainers ...
Some important links:
- BioConda https://bioconda.github.io/
- Conda https://docs.conda.io/en/latest/
- Introduction to BioConda https://www.slideshare.net/EMBL_ABR/bioconda-and-the-conda-package-manager
No comments:
Post a Comment